
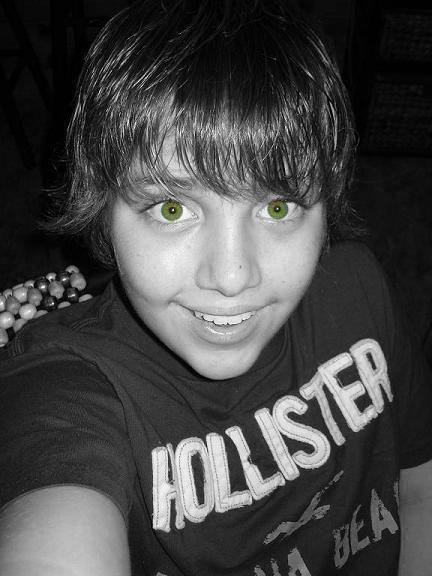
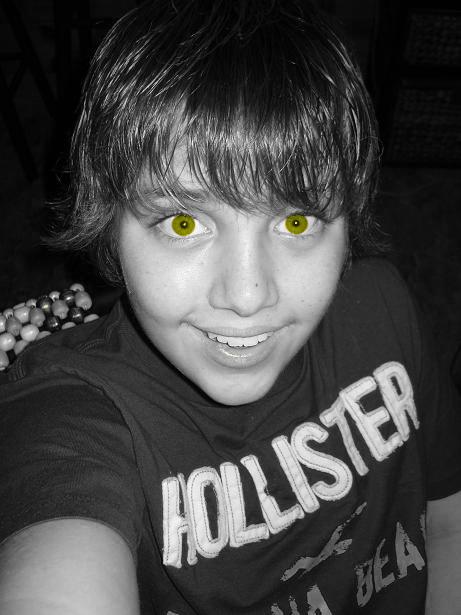
It took a while, but I finally figured out what he wanted. He just wanted to screw around with some photos of himself for his myspace page. I found a bunch of bitmap files of just an eyeball, and I made him explain them to me… he was trying to take a photo of himself and make it all black & white except for his eyes. Which is one reason why he wanted Photoshop. So I showed him the not-so-quick-&-easy, but free way to get that same effect. Actually, I’m not sure how to use Photoshop, so maybe my way is just as quick & easy. It didn’t take me long, probably less than 5 minutes. Here’s the end result, the photo how Sammy wanted it...

Pretty cool, huh. He’s quite creative. Here’s how I did it...
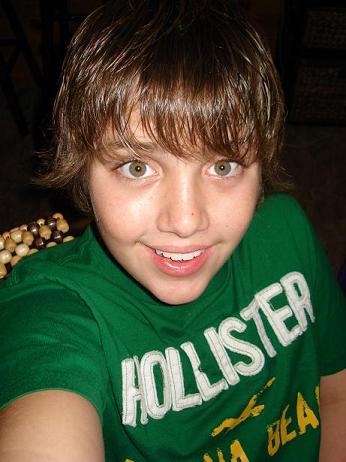
The original photo looked like this...
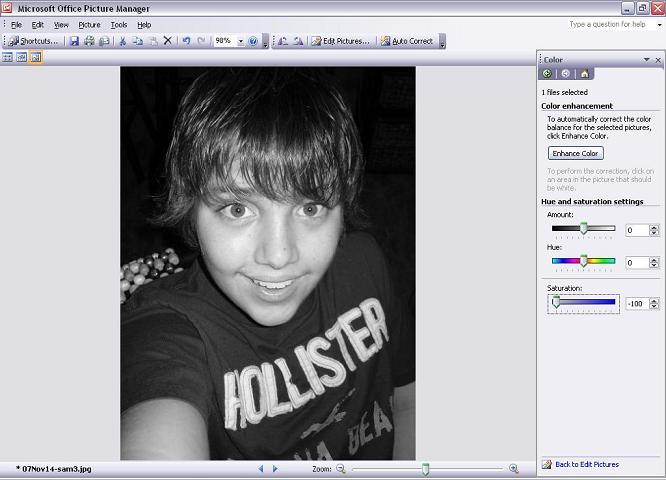
and I wanted to make it black and white, like this...

so I opened it using Microsoft Office Picture Manager (right click on photo file, select Open With & choose it), and I chose Edit Pictures, then selected Color (or you can go to the Picture menu & choose Color). I then changed the Saturation to -100, making the photo black & white.
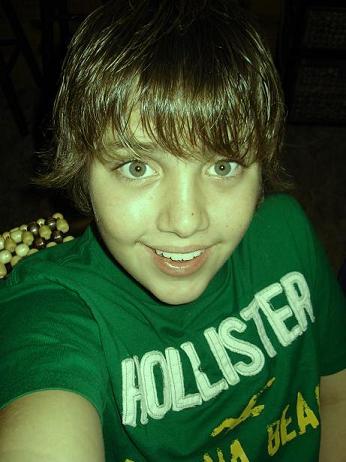
I did a File Save As to save the black & white photo, retaining the original photo file as is. Sammy decided he wanted his eyes to show more green, which sometimes his eyes are super green, other times golden... they change depending on what he’s wearing and what the light is because he has those ever-changing hazel eyes. Lucky, gorgeous boy.
So anyway, I decided to really green up his eyes, and it didn’t matter that everything else became more green as well, because only his eyes would show...
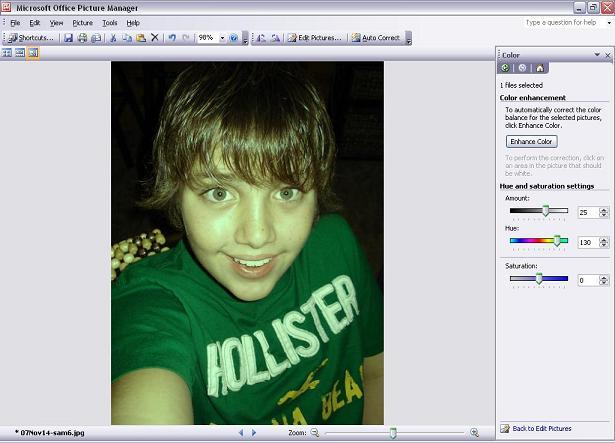
I once again opened the original photo using Microsoft Office Picture Manager, then chose Edit Pictures and selected Color again, this time changing the Amount to something like 25 and the Hue to 130...
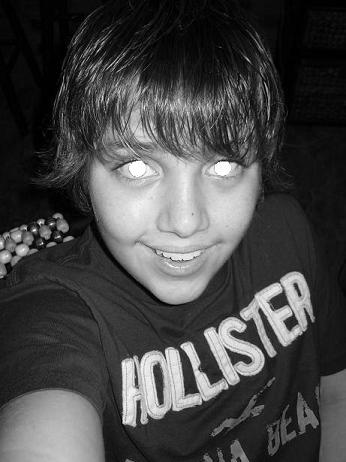
Again, File Save As for the green version. Then I opened both the black and white and the green version photo files in MS Paint. On the black and white, I wanted to erase his black and white irises, so to make that easier to do I first selected View, Zoom, Large Size, then I selected the erase tool and erased his irises... looks spooky, huh...
Then I took it back to normal size, View, Zoom, Normal Size, and without saving that file or doing anything else with it, I simply selected the entire photo (you know, CTRL+A, or Edit, Select All), copied it to clipboard (CTRL+C), then I went to the already open green version and pasted it on top of it (CTRL+V) – but it is important that Draw Opaque is not activated (Image, Draw Opaque should not have a checkmark next to it), and you get this...
Oh, and by the way, you can’t save the black and white photo with the eyes erased out of it and use it later to paste again... I don’t know why it doesn’t work that way, but it doesn’t, because the spot you have erased isn’t a hole in the photo any longer.
Now this would be very time-consuming if you were trying to do something more elaborate than a couple of little eyeballs, but for those of us who, a) don’t own Photoshop software or any other special photo editing software, and b) don’t have time to learn how to use it even if we had it, this is an easy way to get popping green eyes, eh?
And it made my boy happy. I believe his exact words were, “You rock, Mom!” I’ll take it. And I love looking at those green eyes... or...
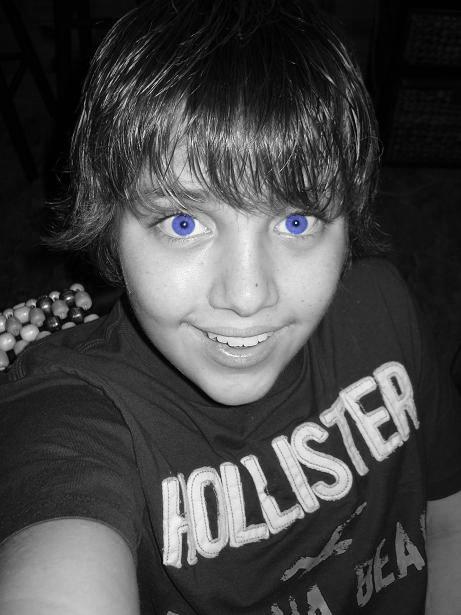
or...
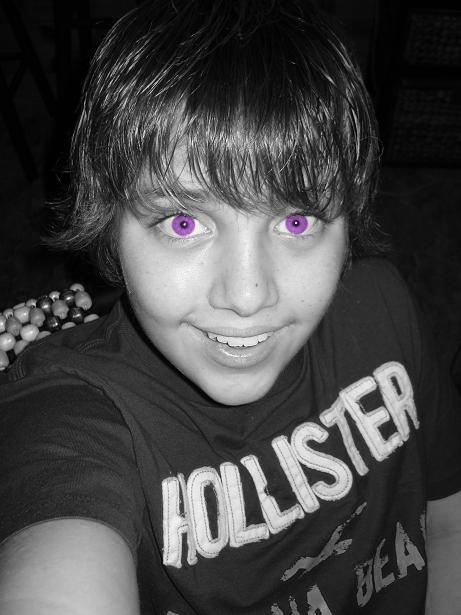
or...
or how 'bout this...
or...
OK, I'm done now. That was fun.
No comments:
Post a Comment