Saturday, July 28, 2007

I narrowed it down to 35...

Late this afternoon, after taking 2 sessions of pottery (that's 6 hours straight... and I wish they were open on Sundays!), on the drive home, I decided to take some photos. I've mentioned before that we live on a dirt road in the country...

and the ditch along our road is an ever-changing scene. When I can, I take the time to drive slowly and notice the plant growth, the water, the animals, everything. Lately, as it is every summer, the ditch and banks are loaded with plants. Wildflowers, ferns, grasses and what some call weeds... The variety is amazing. The daisies and tiger lilies are gone, the yarrow and black-eyed susans are on their way out, but there is so much else just coming into bloom. I took almost 240 photos. And I've narrowed them down to these 35... to see a larger version of the photo, just click on the photo...


Friday, July 27, 2007

You're welcome

Do yourself a big, wonderful favor and go read my nephew's blog post here.

Tuesday, July 24, 2007

Pottery: Senses Pot

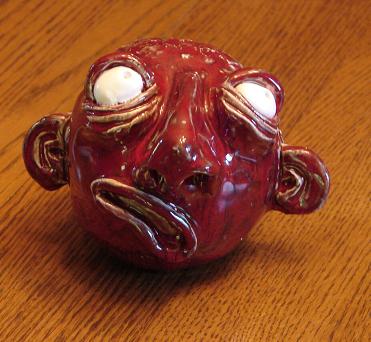
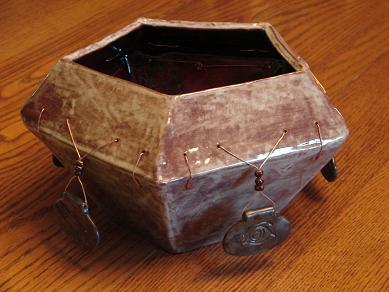
This post will bring me up-to-date on my pottery projects; this is the last finished item I have to share with you. I made this pot from piecing together slabs of clay, which I made by using the slab roller machine at Space Studios. I made a paper pattern first, then cut out the pieces from it. I put the holes into the pot for the copper wire using a drill tool, and I hand-formed the small beads and the 5 pendants.

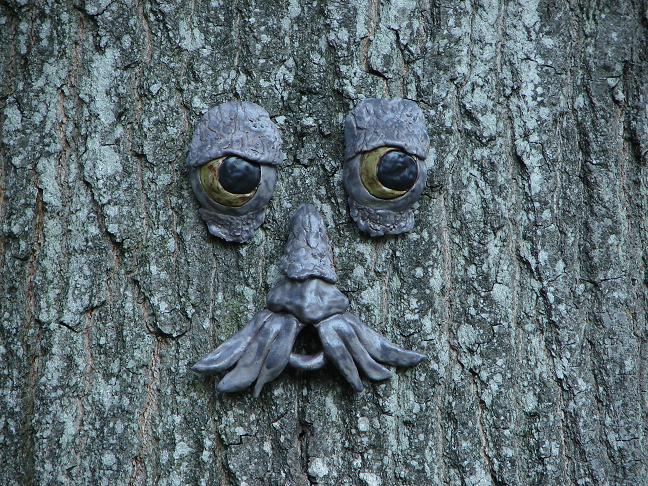
I call this my "Senses Pot" and hopefully you'll understand why once you go through the photos.


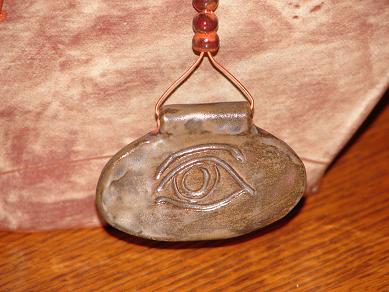
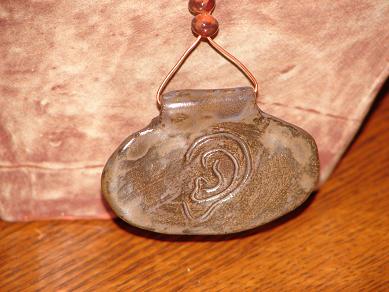
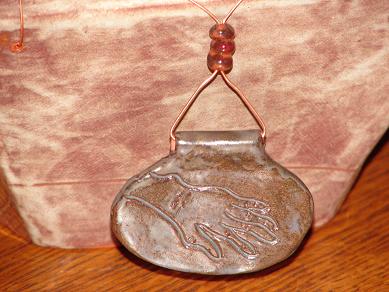
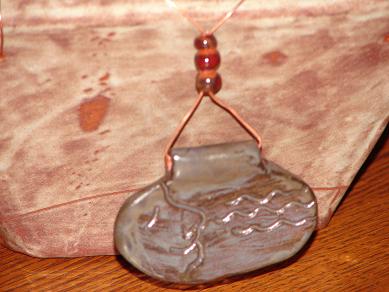
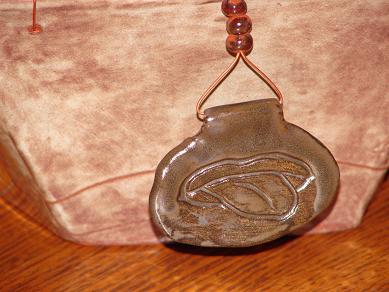
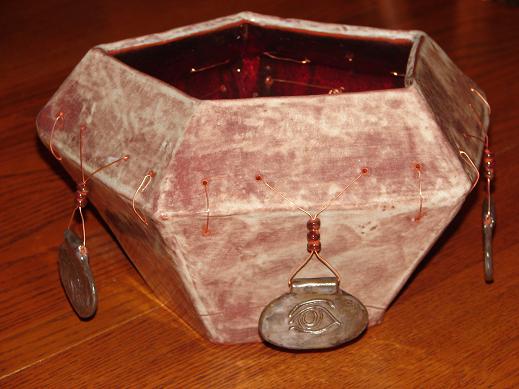
I drew out ideas for the pendants one day while sitting outside near my sister, Kathy's, pool while Sammy was swimming. My nephew, Michael, helped me a bit, especially by being my model for the human elements. Yep, that's Michael's ear there, folks.

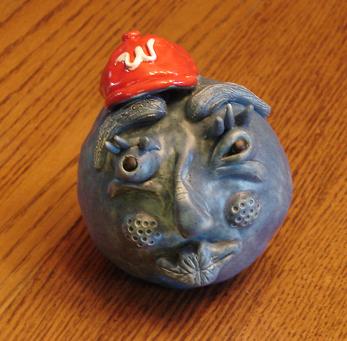
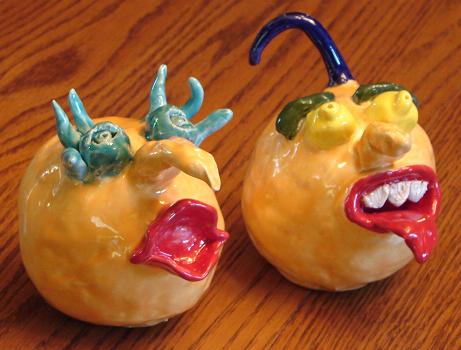
I used this wonderful glaze called Oxblood for the interior of the pot. I also on one of my critter shaker balls, and it is very different on white clay. This Senses pot I made with red clay, so the Oxblood is much deeper.


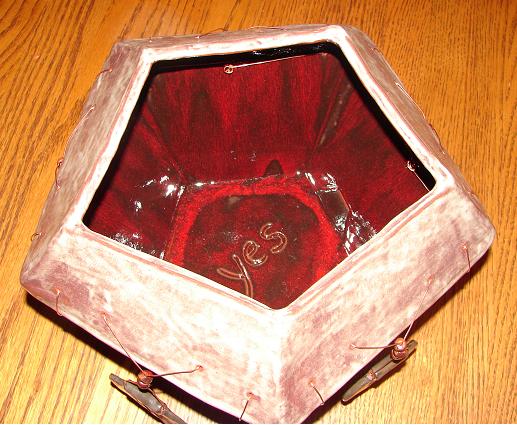
Michael saw this pot before it was finished, and he was puzzled by the word, "yes" in the bottom of the pot. My answer was that it has no meaning, except yes. Also, I totally copied that "yes" from a pot that Kathy Space made, which I loved. I like how it makes people stop and look. Yes, yes it does.

Pottery: Critter Shakers

Sammy took some pottery sessions with me this summer. We wanted to make some critter shaker balls, like Sixty, who he made in his 6th grade art class this past school year. For me for Mother's Day!

If you pick Sixty up and shake him, he rattles in a very pleasant way. That's because he has little balls of clay inside of him. Sammy showed me how to make these by balling up some newspaper and putting clay over it to form a ball. You then add features to it for your critter design. Once the ball is somewhat firm, you cut a circle out of the bottom, carefully pull out the newspaper (which is nice and damp, so it's soft) and then insert dried little balls of clay. The size of your little shaker balls and the amount you insert is up to you, depending upon how you want the ball to sound. Larger shaker balls clank more, while the little ones tinkle, and less of them means a lighter, more spaced apart sound, while many means lots of rattling. Once you have the shaker balls inside, you use new clay and seal up the hole. Then the last, extremely important step is to poke a small hole into the bottom so that air can escape during the bisque firing. When you're ready for the glaze firing, you have to be sure that hole is still clear.

It was so much fun making these critter shaker balls with Sammy, and then glazing them, too. Couldn't wait to see how they turned out, and we were both super happy. Sammy got much more creative on the glazing than I did. We each made 2, and here are my 2 critter shakers...


And here are Sammy's... he made them as a matching boy & girl pair...

Sunday, July 22, 2007

Pottery: Pedestal

This is another project I finished recently... a pedestal to hold my rose scented geranium in my herb garden. By far the largest piece I've done. I had to make it in 2 pieces so that it would fit into the kiln. It separates at the 3 bands in the center.


I was a little disappointed in the clear glaze I used. It went on very thickly, and though I put only 1 coat on it... it got "milky" looking, which is not what I was going for. I would have preferred it clear, but once it's glaze fired, that's that. I still like it.


I made it using lengths of coils of clay in a row, smoothing them on what would become the inside, and joining them together. It was pretty difficult... it kept wanting to come apart. It took a very long time to make this piece, mostly because it's so big and has so many parts to it. It was very satisfying. I'm happy with it, & I like how it looks in my herb garden, near the lavender and Lady's Bedstraw.

Pottery: Tree Face

This is one of the recent projects I've finished. I finally got him up onto the tree today.


Sammy glazed him for me, and he chose the green eye color. I like him.