
I picked up a couple of finished items the other day, and I’m pretty happy with them.
The first one, Project 3, is “triangles vase” made from slabs of clay forming 3 triangle shapes, each slightly shorter than the previous and set slightly off center. It is about 6.5 inches in height, not very large at all. I painted on designs after the first firing, using a navy blue and a lighter blue accent. After that glaze firing, I covered the entire piece with clear glaze because I wanted it to be the orange/red color of the clay and the dark blue. Once it was bisque fired, I decided to glaze it that way and give it to Sammy, because he likes orange and blue. Also, Sammy saw the vase right after I finished it, before it was bisque fired, and he really liked it. I was a slightly disappointed in how the blue glaze ran (smeared) a little bit in the 2nd firing. If I were to do something like this again, the glazing, that is, not the shape, I think I would try clear first, then the accent glazes. I love the red clay, though. I have another piece I’m working on that I’ve been trying to decide how to glaze it, and I think I’m just going to put clear on it.
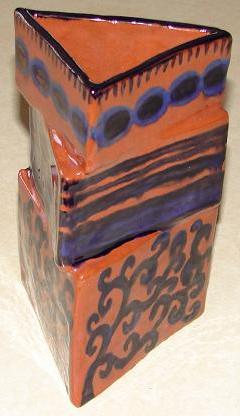
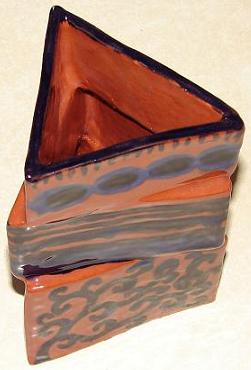
I liked the shape, too. I made this little vase just because I had leftover clay that I had slabbed out already for a box pot. I think I would like to make another one like this only much larger.
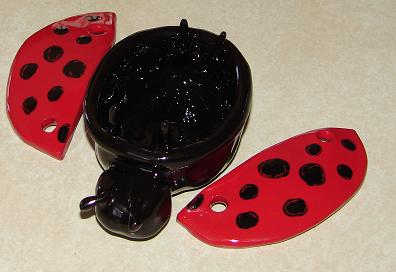
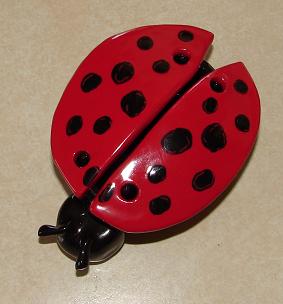 The next one, Project 4, is one of a group of 3, and it is my “ladybug pot.” I made a pinch pot for the insect base (body) and then shaped the wings for the lid. I decided to make the lid in 2 pieces, with pegs on the body to hold them into place. It was tricky getting the holes on the lid pieces to match the pegs on the body. It's small, only about 2 inches in height and 5 inches from end of wings to head. Once I made the ladybug pot this way, I decided to do a lightning bug and a butterfly... I got on the ’net and found photos of these 3 insects, all Michigan photos and used those as a guide (and only a guide) when I did these little pots... they are by no means meant to realistically represent the insects, as you can see.
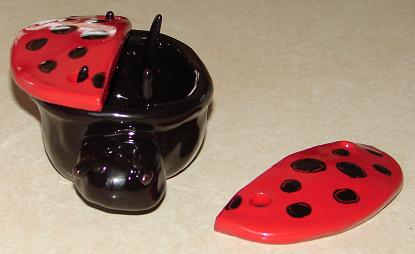
The lightning bug pot is done, except I broke the antennae... I plan to make a new set tomorrow morning at class. The butterfly is done, except one of the wings got chipped after the glaze firing... just a little bit, so I just touched it up and it had to be re-fired... I'm hoping it'll be done tomorrow.
Have I mentioned lately how much I enjoy these pottery classes?!!.... Even when the finished product isn't exactly what I had in mind, I'm still enjoying this so very much, and I always look forward to my next class.
No comments:
Post a Comment