
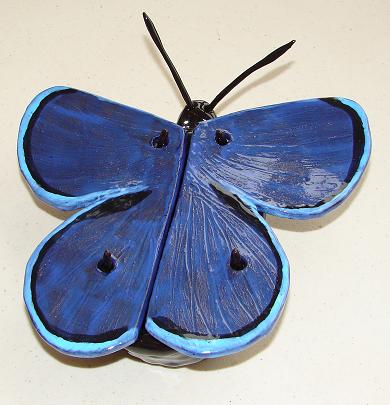
I think the wings became a little darker during the 2nd glaze firing (from when I fixed a small chip). I like it this way.
It's funny how the photos make the glazing on the wings look splotchy... I'm looking at the pot right now, & the wings don't look splotchy at all. I saw the photos and had to take another look. Whew!
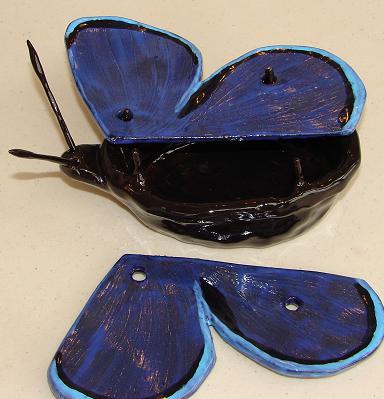
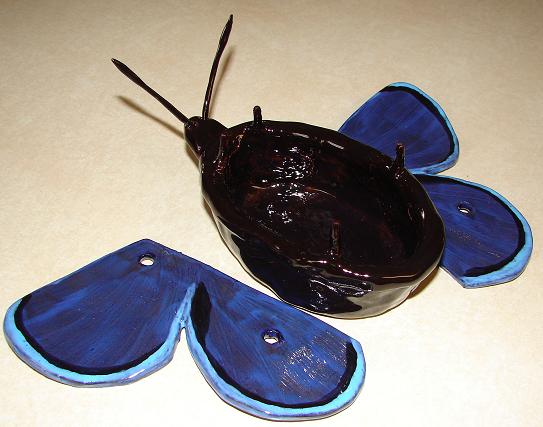
When I first made this pot and it was drying, the antennae broke. They were so fragile. So at the suggestion of Kathy, the owner/instructor, I redid the insect's head and poked holes in it to hold the antennae, then I made each antenna and stored them inside the body for drying and bisque firing. It worked perfectly. I put them into place when I painted on the glaze, so they were glaze fired that way... so they stuck.
No comments:
Post a Comment